
The Active Directory may already have the necessary schema updates for previous versions of Exchange, but before you install the Exchange 2016 system you will need to go through this process. The installation of Exchange 2016 will prepare the Active Directory for you, so if you want to let this happen automatically then you can just run the GUI setup now. My personal preference is to have a little more control over what is happening and run this from the command prompt. To check out the Exchange Schema version that you currently have, if you are interested, the powershell command is
“Exchange Schema Version = ” + ([ADSI](“LDAP://CN=ms-Exch-Schema-Version-Pt,” + ([ADSI]”LDAP://RootDSE”).schemaNamingContext)).rangeUpper
The update to the Schema must be run in the same ‘AD Site’ as the Schema Master. If you need to lookup what DC is currently the Schema Master, use this command.
(Get-ADForest).SchemaMaster
To run the updates, unpack the Exchange 2016 installation to a local drive. Just open the .exe file on the Exchange 2016 ISO and you will be asked for the location to drop the files. From the Command Prompt, (not Powershell) you can run the following command. Remember to run the Command Prompt as Administrator.
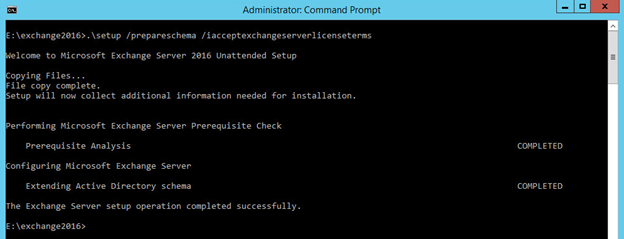
UPDATE ACTIVE DIRECTORY SCHEMA
.\setup /prepareschema /IAcceptExchangeServerLicenseTerms
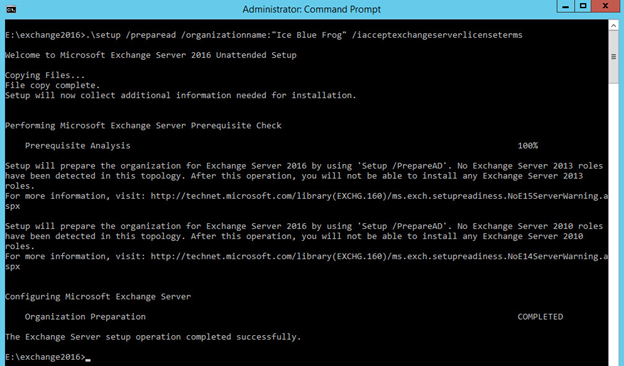
UPDATE ACTIVE DIRECTORY
The second part of this is to update the Active Directory itself for the Exchange Organization. If this is the first Exchange Server you are installing then you will need to specify the Organization Name that will be used to define Exchange from this point forward. This cannot be changed later, so decide carefully now. If you already have an Exchange server present then there is no need to specify this. You will also notice that you are prompted that Exchange 2010/2013 Servers may/may not be present in the Organization. If you update the Active Directory with the Exchange 2016 system you will not be able to install any new Exchange 2010/2013 servers unless they already exist. If this is necessary in your company, then make sure you have these old versions in place before performing the Exchange 2016 installation.
.\setup /preparead /OrganizationName:”Ice Blue Frog” /IAcceptExchangeServerLicenseTerms
UPDATE THE ACTIVE DIRECTORY DOMAIN
The last step in this preparation is to perform the final update needed for Exchange 2016, the Active Directory Domain portion. Use this command at the same prompt.
.\setup /preparedomain /IAcceptExchangeServerLicenseTerms

It is not essential to reboot the Server prior to moving on to installation itself. General good practice of Microsoft Servers would suggest that this is a good idea. Once done you can move on to the actual installation.