
Getting a full list of every file in your organizations’ Share Point environment can be difficult via the normal consoles and reports. What I put together here is a scripted way to attach to the tenant and export both a Site Collection report and a Site File Report showing all the details you need to know.
The link for the script is at the bottom of the article.
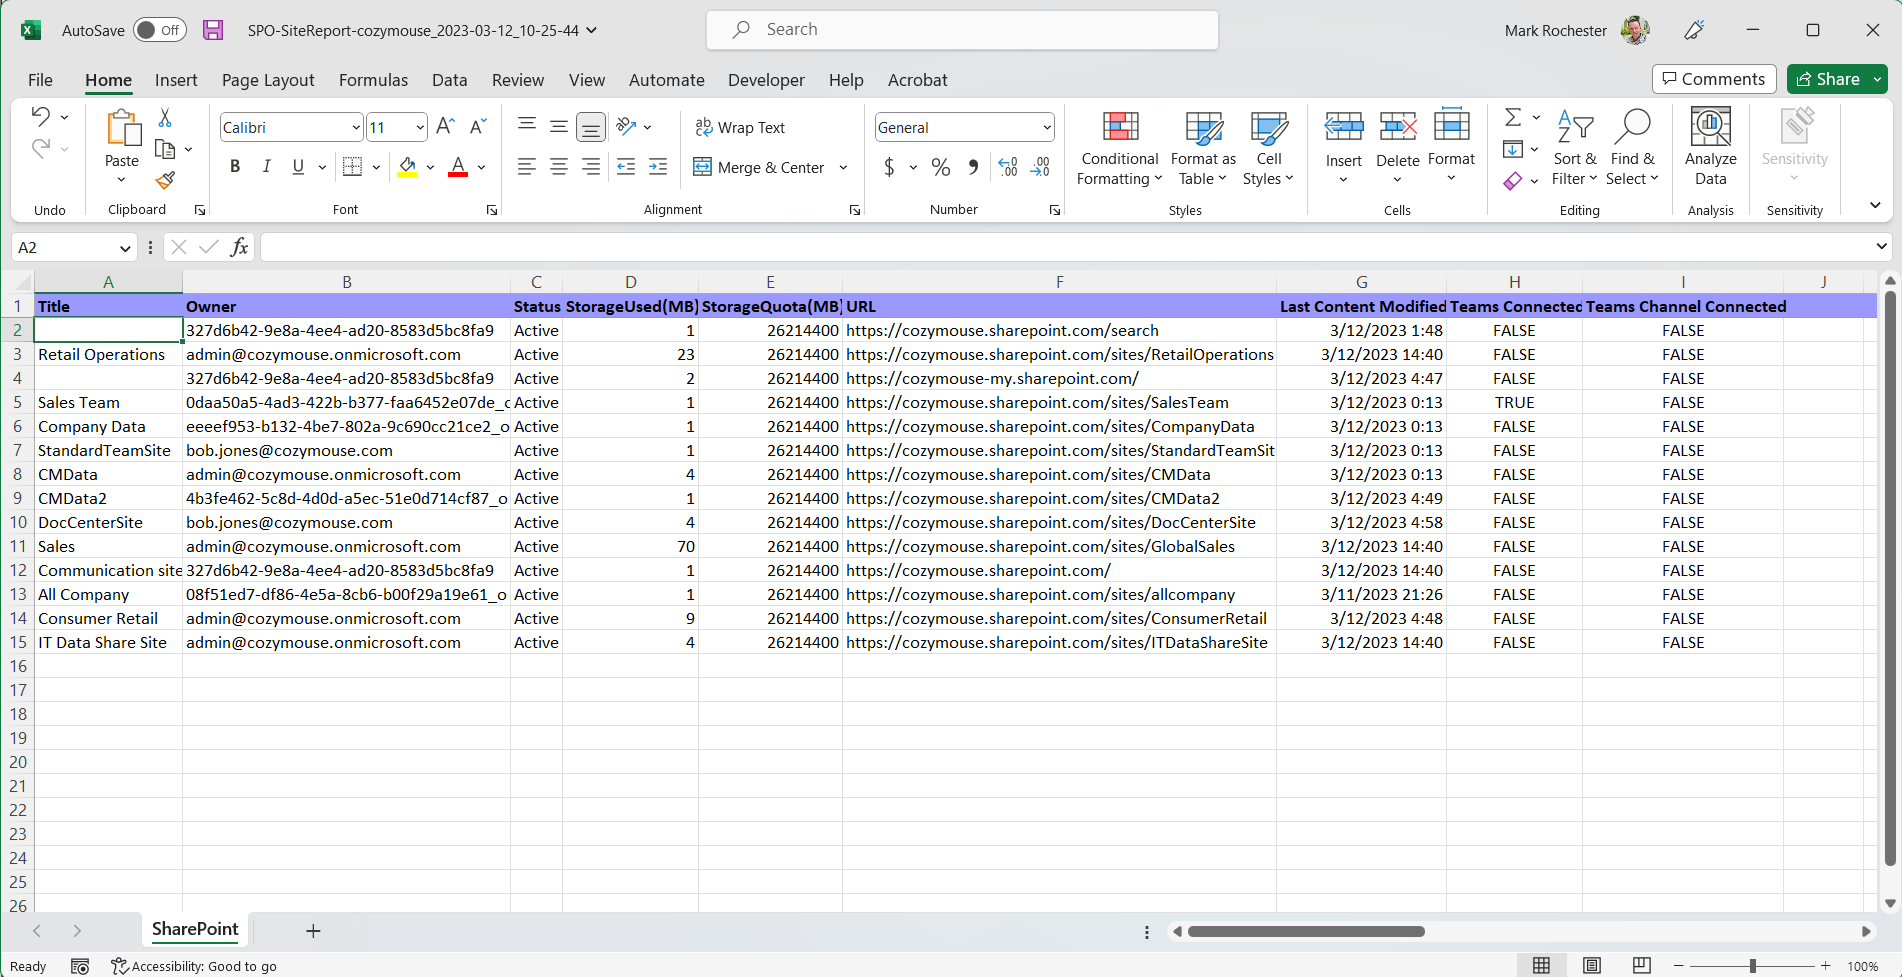
The Site Collection report shows the main details for each of the sites including.
- Title
- Owner
- Status
- Storage Used(MB)
- Storage Quota(MB)
- URL
- Last Content Modified
- Teams Connected?
- Teams Channel Connected?
From this you can get a great overview of the SharePoint landscape, including the sites that are part of a Teams connected backend. Here is an example of what the data looks like on the report.
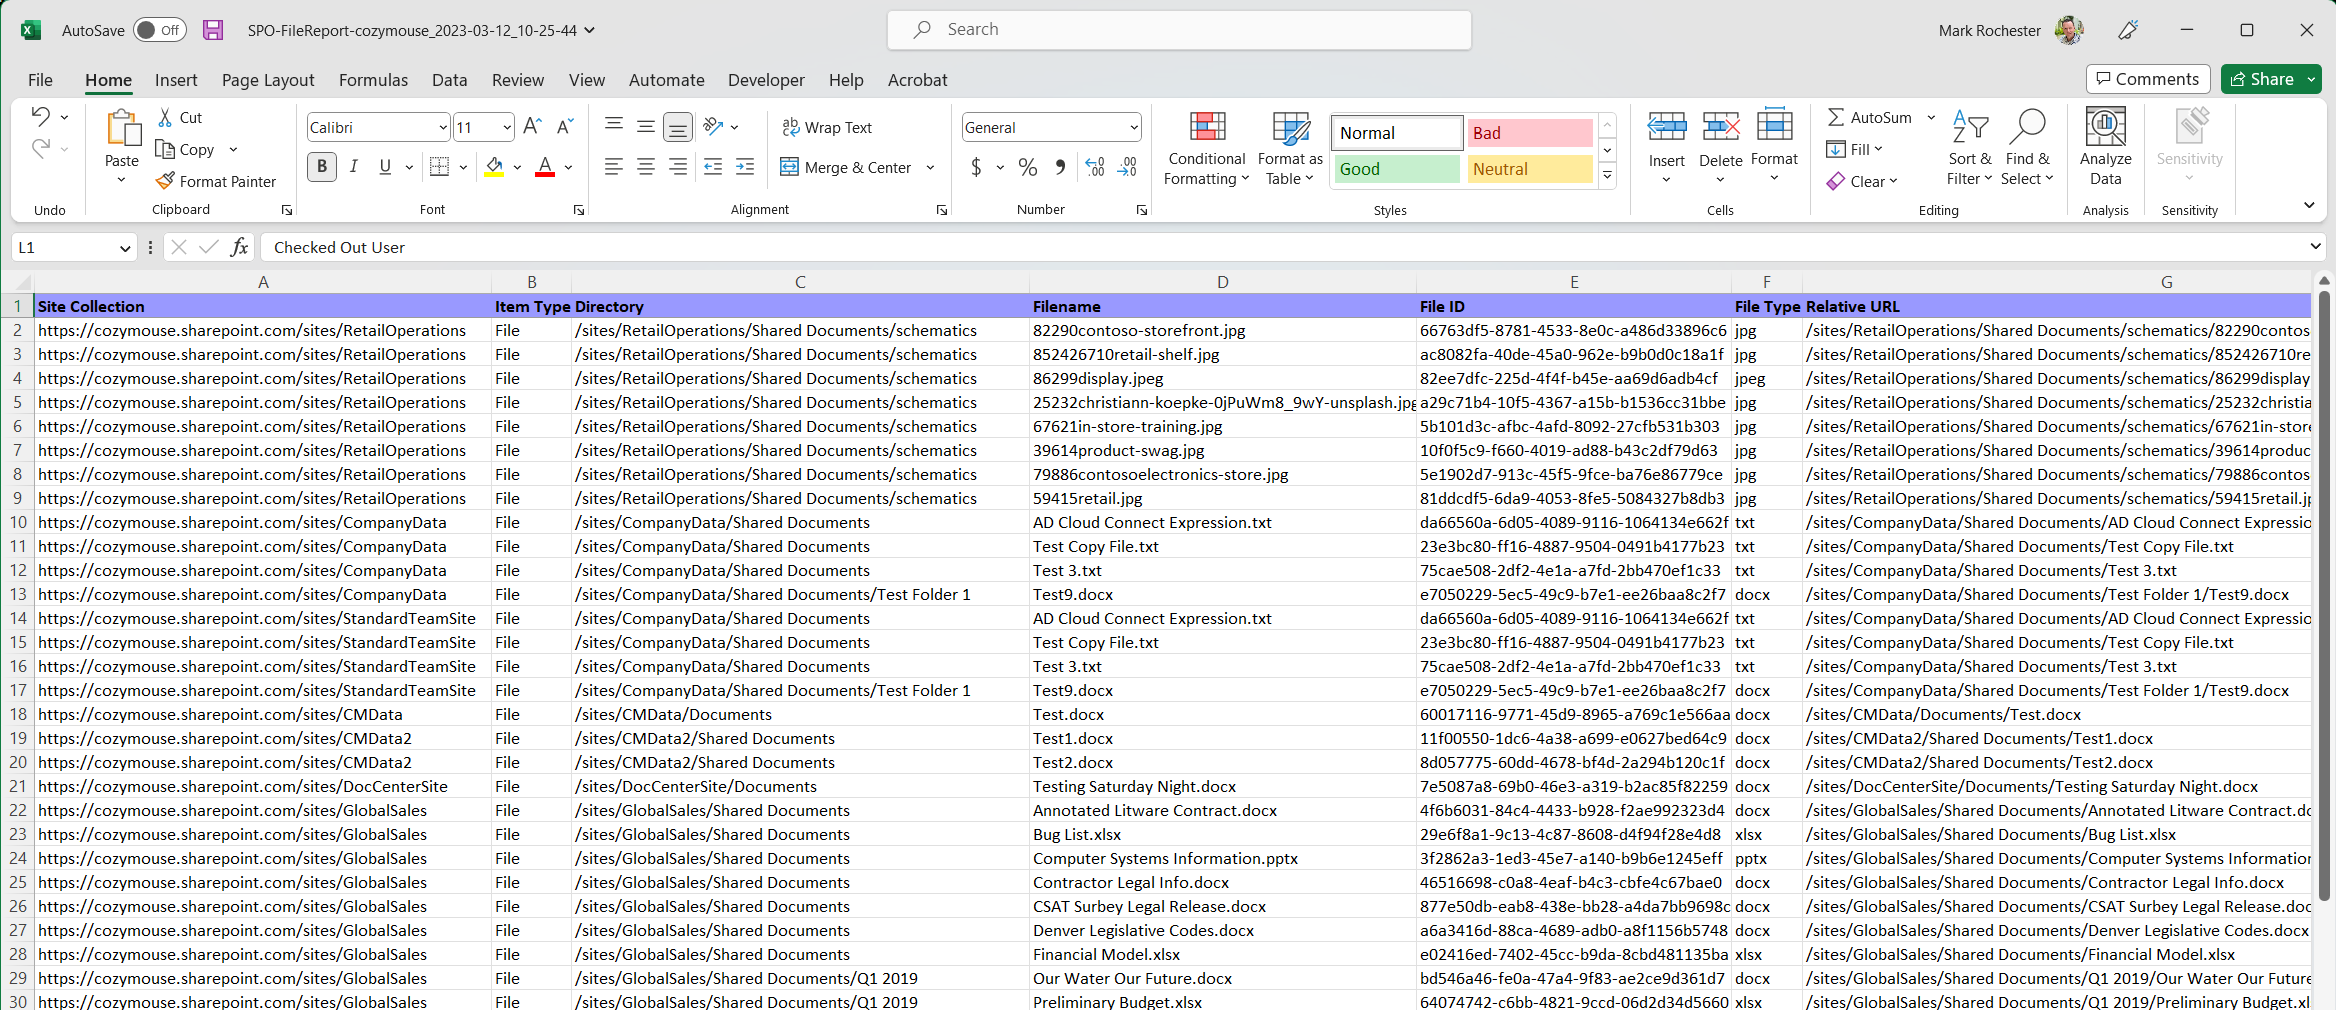
In addition to this, I have added a separate report that details all of the file information in each of the Site Collections as well. This provides the following data.
- Site Collection
- Item Type
- Directory
- Filename
- File ID
- File Type
- Relative URL
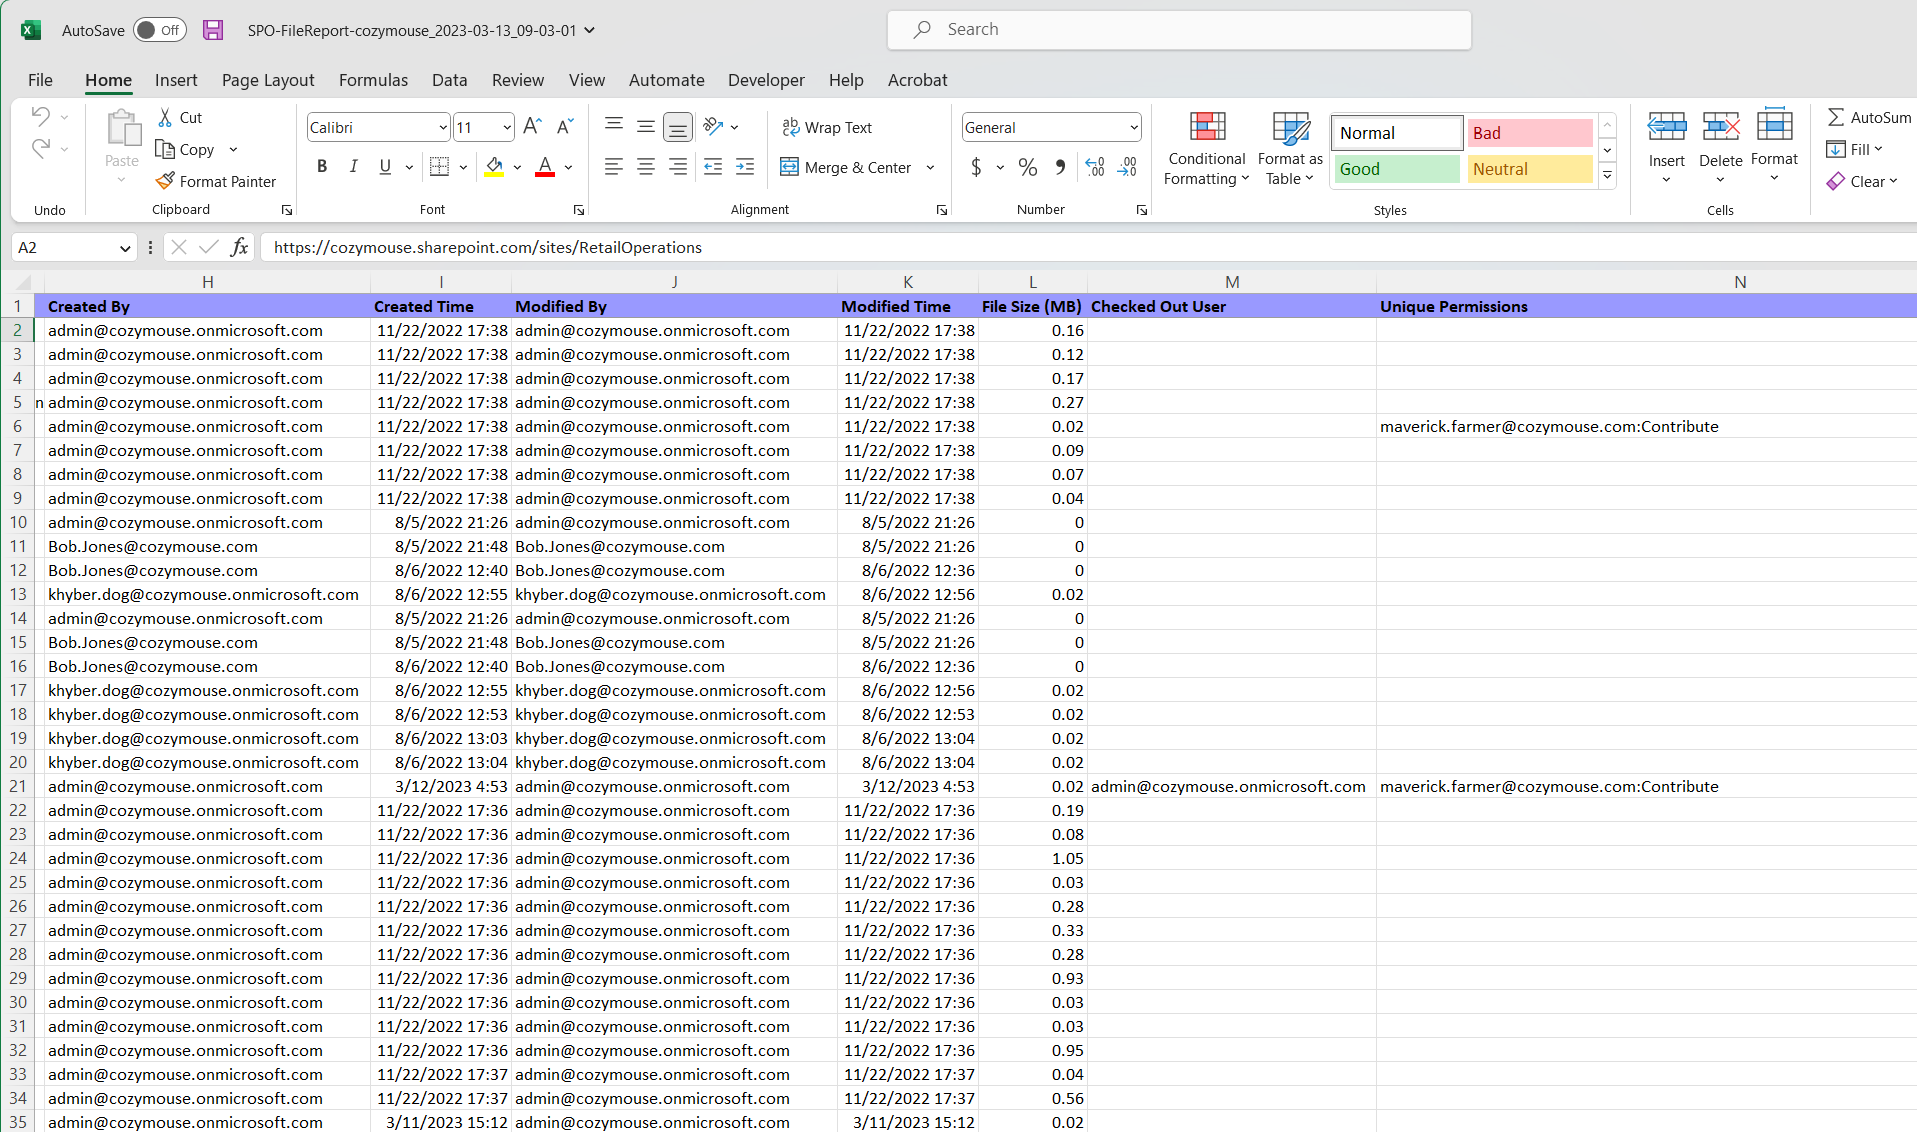
- Created By/Created Time
- Modified By/Modified Time
- File Size (MB)
- Checked Out User – (if checked out)
- Unique Permissions
A sample of that report is shown in the two screenshots below.
It means that with all that data you can create plenty of interesting Pivot Tables and Charts that will provide a good snapshot of the data and the statistics that might be needed for a migration or audit.
A simple one, shown below, takes each of the directories in the Site Collection and show the space used, along with the most recent modification date. A good concept for working out how up to date the content on the site is.

Let’s go into how to use the script and what you need to use in the Options/Credentials to get all the data out.
The best way is to drop it into the C:\Scripts folder and run it from there. Use a PowerShell ISE window that you started with the normal ‘Run As Administrator’ option.
When you first run the script you will see the menu screen that looks like this.
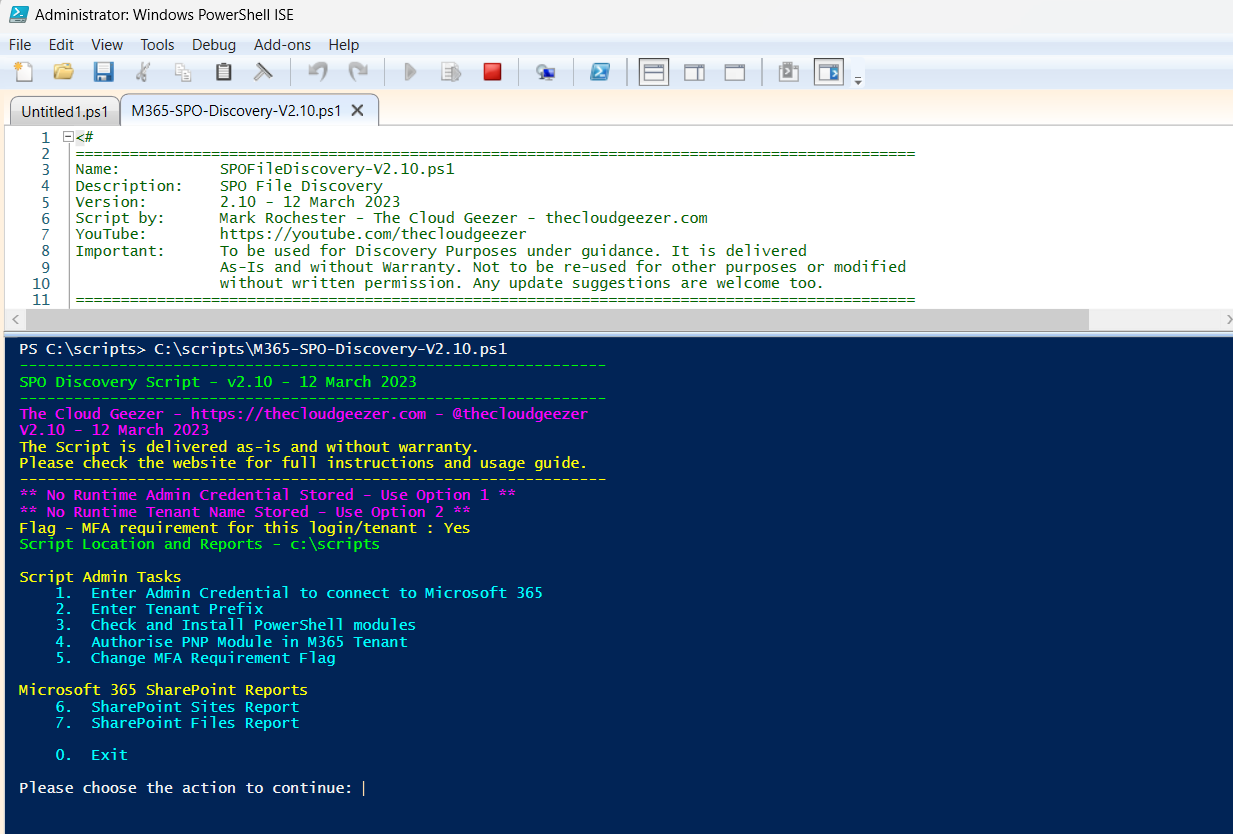
Important Note: The script uses both the GET-SPOSite and Get-PNPFolder/File cmdlets from the two SharePoint Powershell modules. The PNP module will attempt to connect and authorize PER SITE, so if you were to not enter the credentials via option 1, then you will asked to authenticate at each Site which can be annoying. Follow these instructions for each type of authentication option. MFA/Non-MFA. The difference is triggered by Option 5 which I will explain afterwards.
Running with a Global Admin account that uses MFA/Non-MFA
Use Option 1 to enter the credential details. When you select Option 1 it will present you with a credential prompt like this.

Enter the details and it will return you to the menu.
Next enter the Tenant Prefix using Option 2
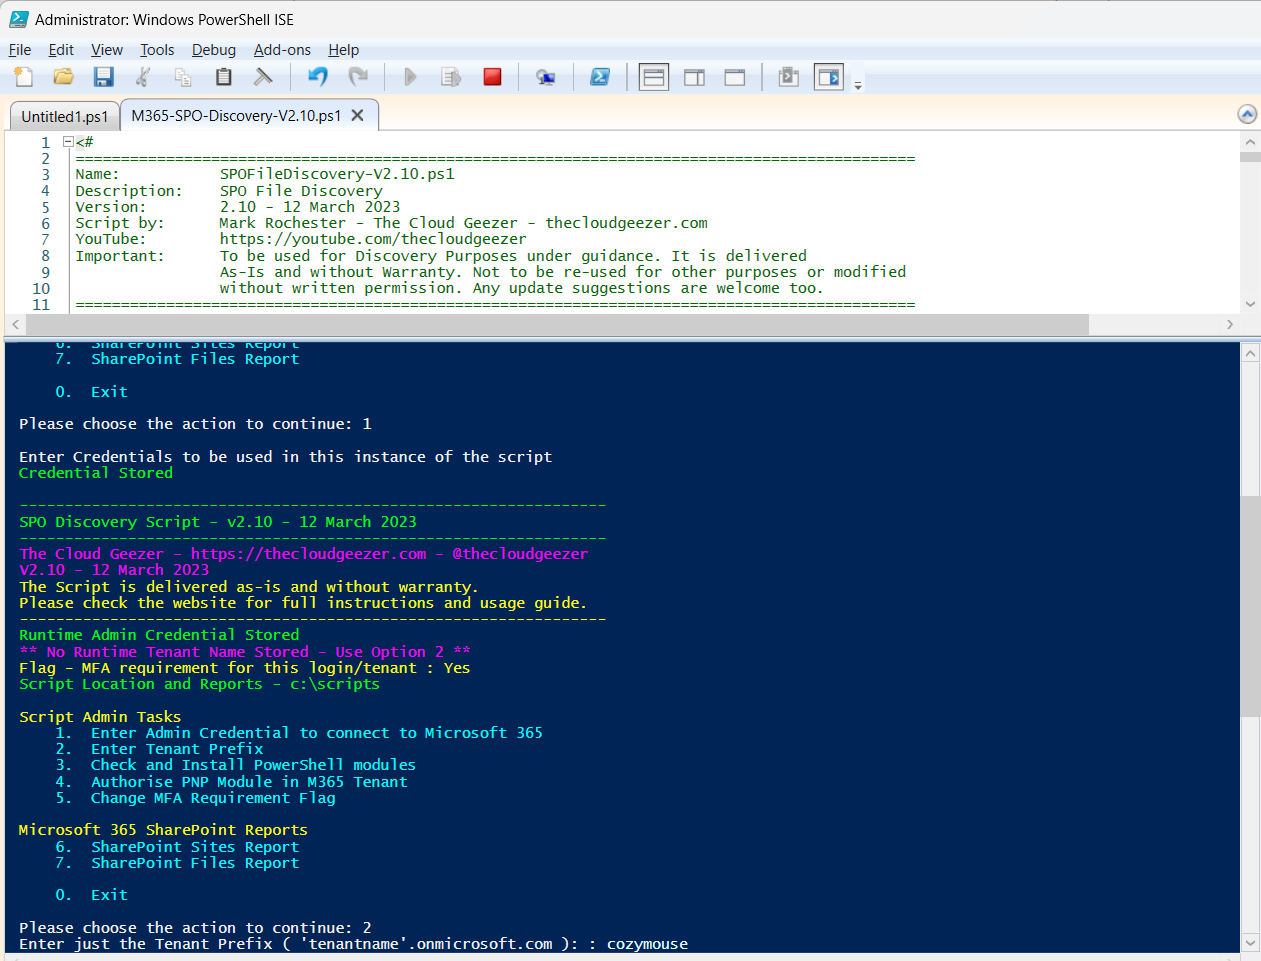
Note that you only type the prefix. No need to put the ‘onmicrosoft.com’ component as that is done for you.
PowerShell Plugins and Authorization
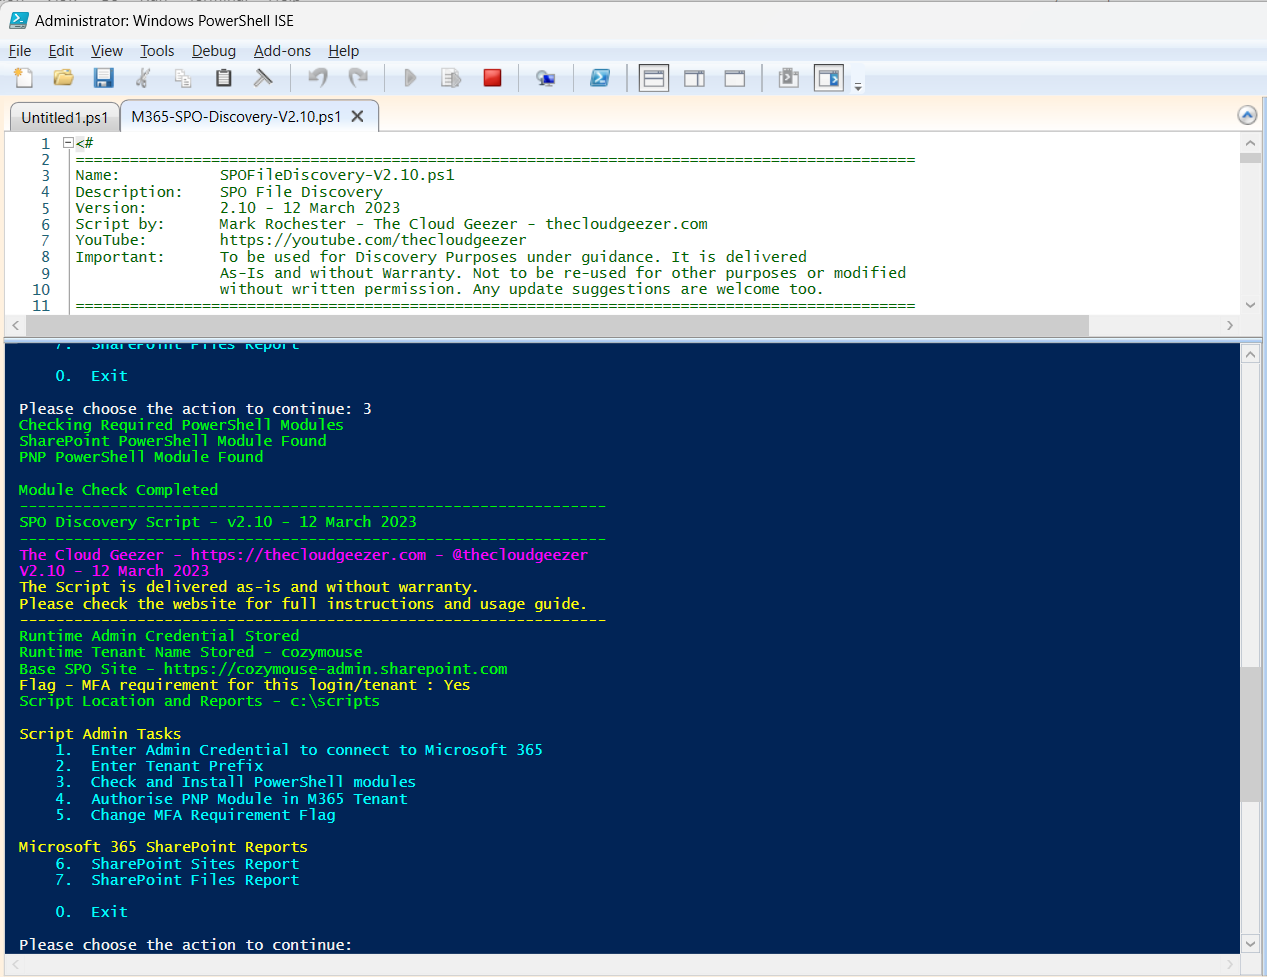
Next is Option 3 that will confirm that you have the PowerShell modules installed on your machine, giving the option to install them if you don’t. Run this option and the response will look like this, returning you to the menu afterwards.
The authorization is required for the PNP Online to talk to the SharePoint backend. Run Option 4 and you will see the following prompt after logging in to the tenant. This is a One-Time item, if you run the script multiple times then only run it the very first time. Now, this provides access to the tenant for the PNP PowerShell module and is not script specific. If you feel more comfortable running the trigger command yourself, outside of my script, then the command to run is
Register-PnPManagementShellAccess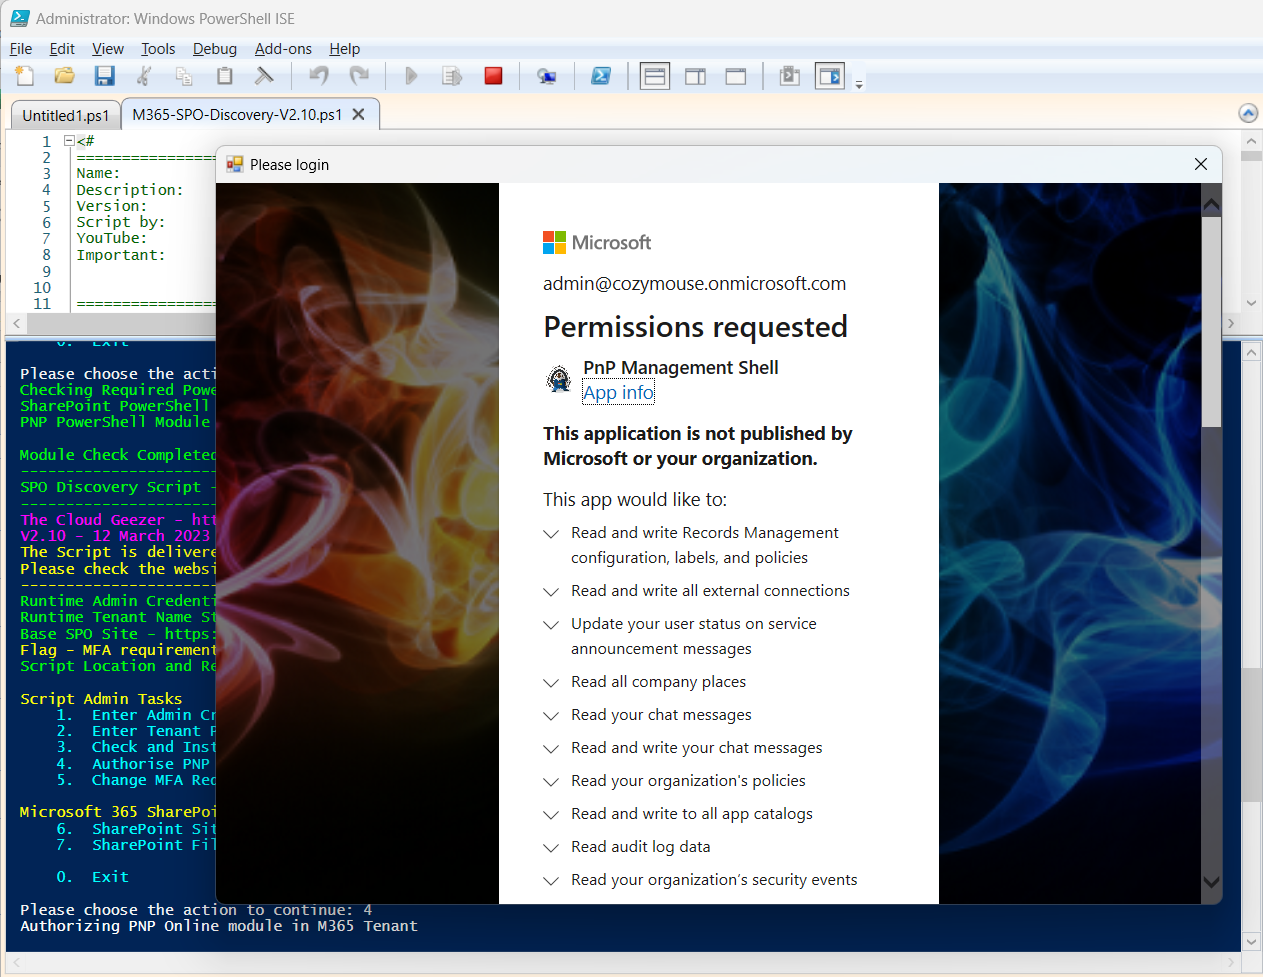
Once this has been successful you will be returned to the main menu.
MFA / Non-MFA Flag
In Option 5 you tell it either Yes or No for the MFA option.
Selecting Yes will perform the initial connection to the tenant asking you to enter the credentials and perform the MFA prompt. The reason for storing the credentials in Option 1 is because once the MFA prompt has been satisfied for that session, the PNPOnline module that does the Site Collection query will use the stored credentials.
Selecting No will make the initial connection to the tenant using the stored credentials and not require you to enter anything from that point onwards. This will only work if MFA is not required for that login.
IMPORTANT: It is always best practice to have MFA turned on for any type of Admin credential (or any credential honestly) which is why the script is capable of handling it.
Running the Script
Kicking off the script is done with Options 6 or 7. Each of them will create a spreadsheet report along with a base CSV file in the C:\Scripts location. If you want to change this location, just edit the first few lines of the script as that is where the location is set.
When running, it will look like this.

Obtaining the script
The script can be found using this link.
Thanks for reading and having an interest in my work here on The Cloud Geezer site. I always welcome comments, feedback, script requests or anything migration related you want to talk about. My YouTube channel can be found here, please subscribe!
https://youtube.com/thecloudgeezer
Mark – The Cloud Geezer – mark@thecloudgeezer.com