Installing an SSL certificate is an essential part of the Exchange 2016 configuration and is usually one of the first tasks that you would perform when installing a new Server. Normally I would install a certificate using Powershell but for this tutorial I have decided to go through the Exchange Admin Center and do it the slower, more next next next finish approach! Login to the EAC with your admin credentials and navigate to the ‘Servers’ section and click on ‘Certificates’.
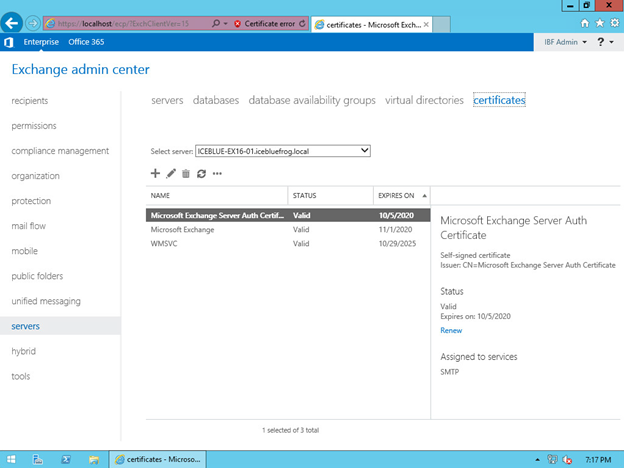
You will see the standard certificates that are installed by default. To add a new certificate, click on the ‘+’ icon.
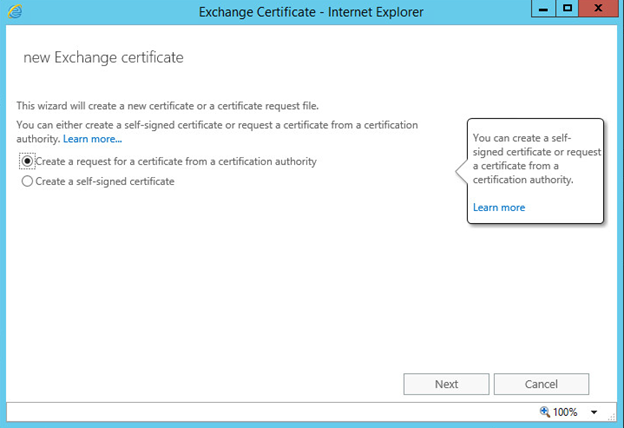
Click on ‘Next’ to start the process.
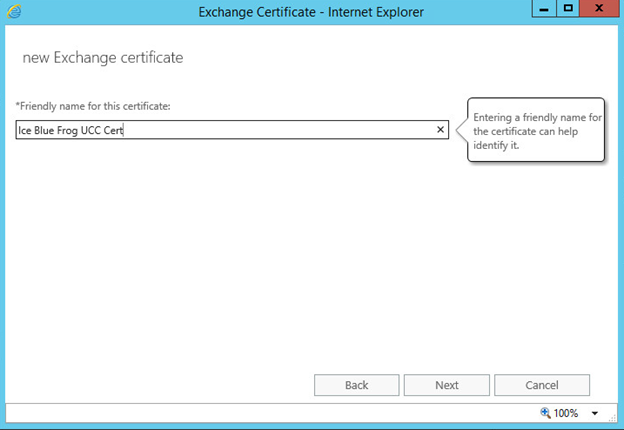
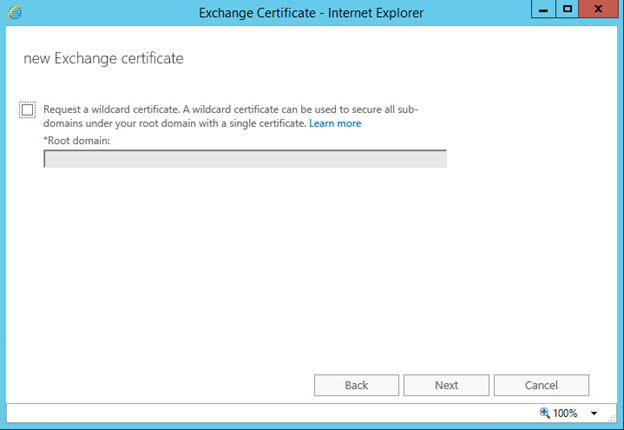
Here we give the certificate a ‘Friendly Name’. This can be anything you like. Then click ‘Next’. Do not tick the box as we are not using a Wild Card Certificate. Click ‘Next’.
Select the Server name that you are applying the certificate to. In this case we only have one Server. Click ‘OK’ and then ‘Next’.
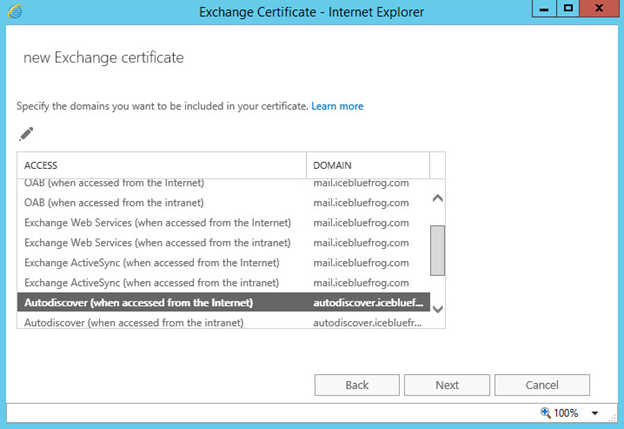
Here we get to assign the FQDN name to ALL the services, both local and external. I have opted to use ‘mail.icebluefrog.com’ for all the services except AutoDiscover, which will be ‘autodiscover.icebluefrog.com’. Change the items to match what your domain is and click ‘Next’.
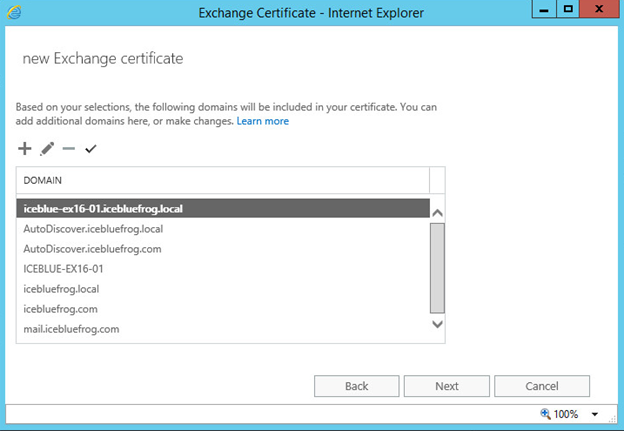
You will be presented with a summary of the domains, however it will still have local names there. You need to remove them all apart from the external FQDN’s that were used in the previous screen.
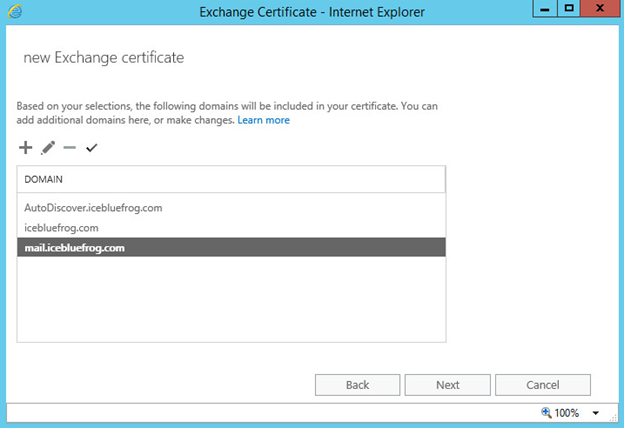
Therefore the screen should look like this. Click ‘Next’.
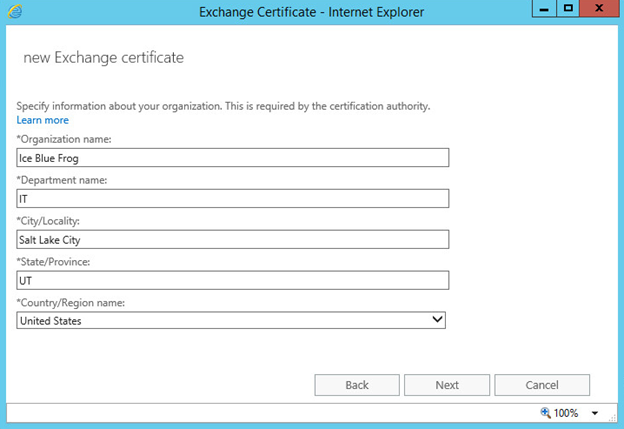
The items here relate to the organization so they must watch your company details. When the SSL certificate details are shown on the web, this is the information that is shown. Click ‘Next’.
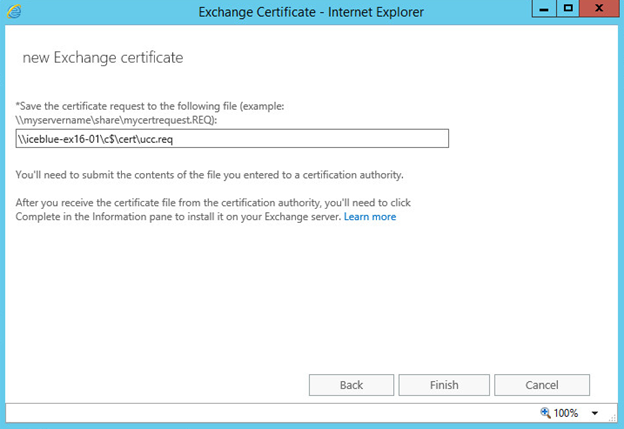
Then provide a full UNC path for the certificate request to be stored. Click ‘Finish’.
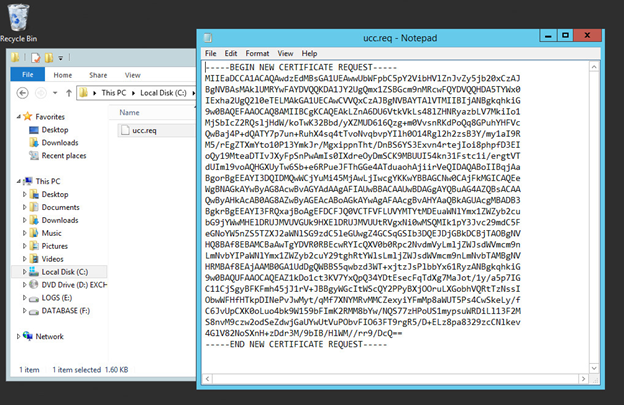
Looking at the certificate request file, you will see the text similar to what is shown here. This is the CSR request that is pasted into your certificate purchase with your SSL provider. They will process the certificate and give you back a response file. Once you obtain the response file you can continue.
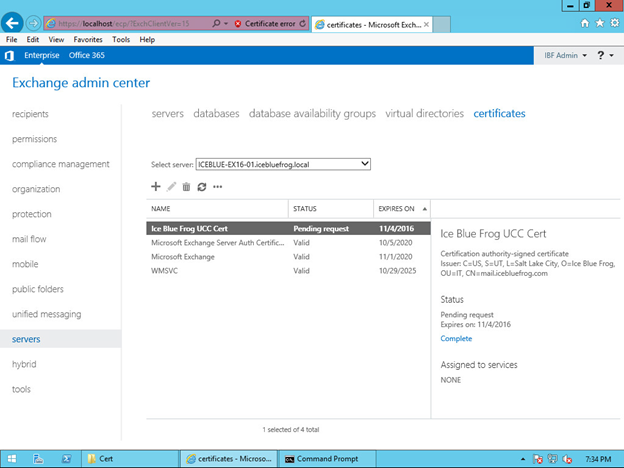
The request for the certificate is waiting on the ‘Pending Request’ prompt. Click on the ‘Complete’ link and give it the path of the response file you received.
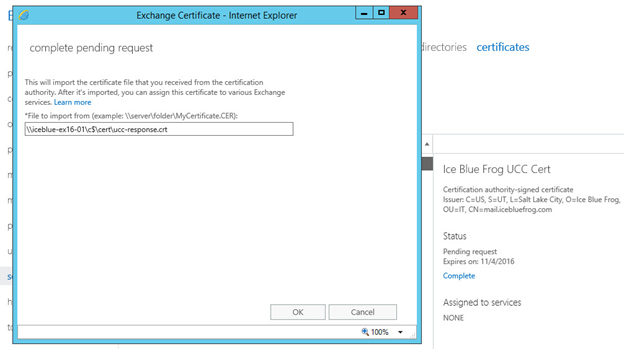
Click on OK to process the certificate installation. The certificate will now show as being ‘Valid’. To activate the services that will use this certificate, click on the Certificate and then the edit option (the pencil).
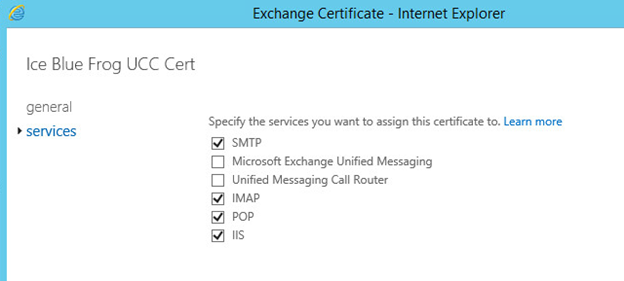
Click on ‘Services’, then put a checkmark next to the services as shown. Click OK.
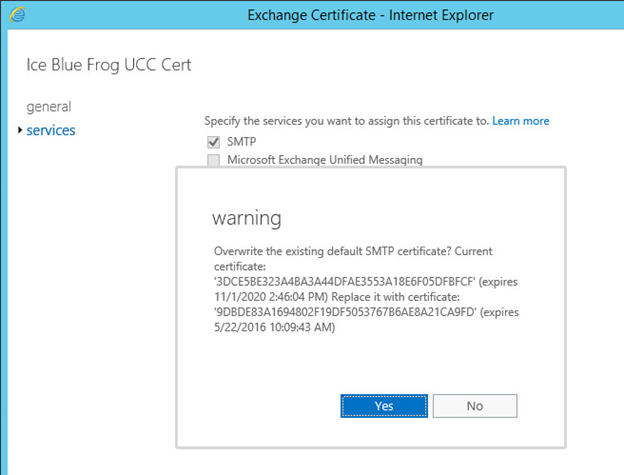
You will get the prompt asking if you wish to replace the current certificate. Click Yes.
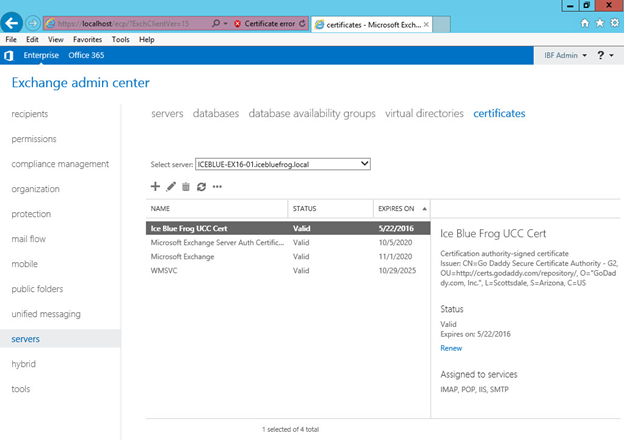
Now you are all done. Checking on the certificate you can see the date it is valid to and the services that are assigned. To check it, go to the OWA site and make sure that the SSL connection is working properly.