
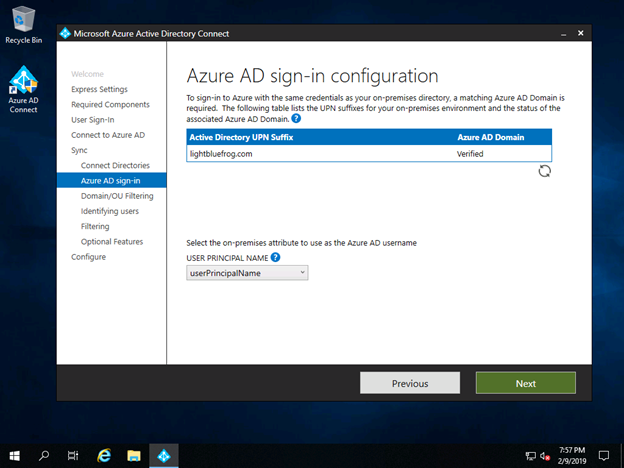
Here we get to decide the source anchor linkage that is going to bind the accounts together. The suggestion is to leave this as the UPN. There is a post here that details why so check out under the Office 365 menu the UPN section to get a good understanding. Basically accept this page and hit Next.
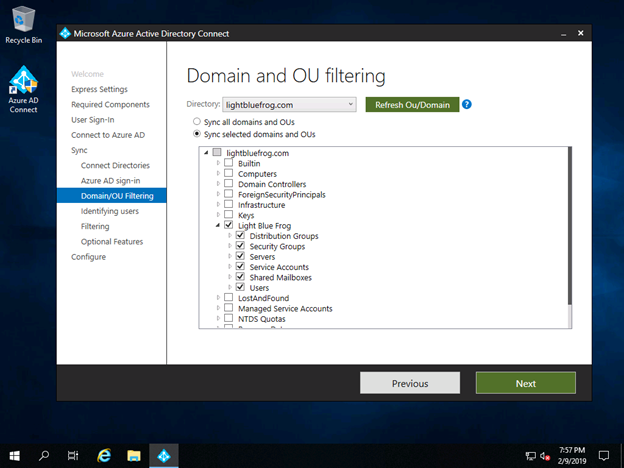
Now we get to select what OU’s become part of the synchronization process. Now you can go back and amend these later on but for now select what you would like to get into Azure AD. Then hit Next.
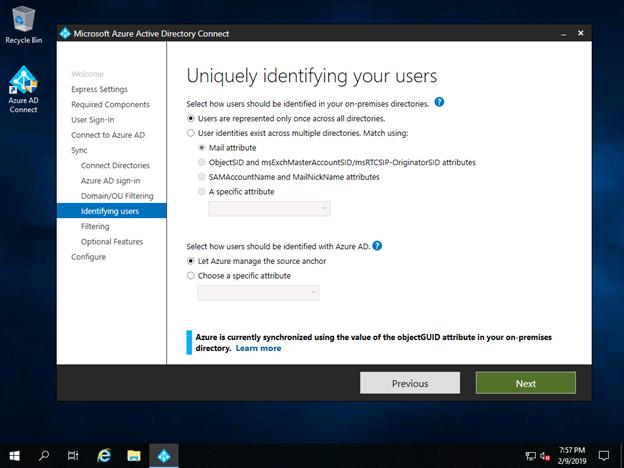
This page relates to systems where there my be multiple instances and multiple ID’s for users. In this simple implementation we can just go ahead and hit Next.
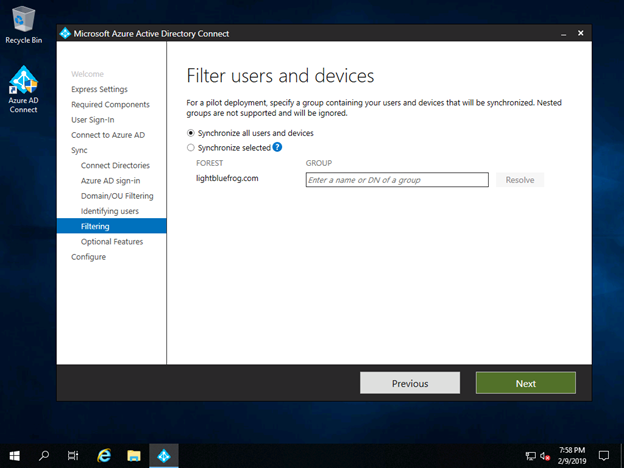
Likewise, we do not intend to filter out any particular accounts and objects in Active Directory based on any LDAP queries. We can do much of this in the transformation models we can setup later if necessary. For now just hit Next.
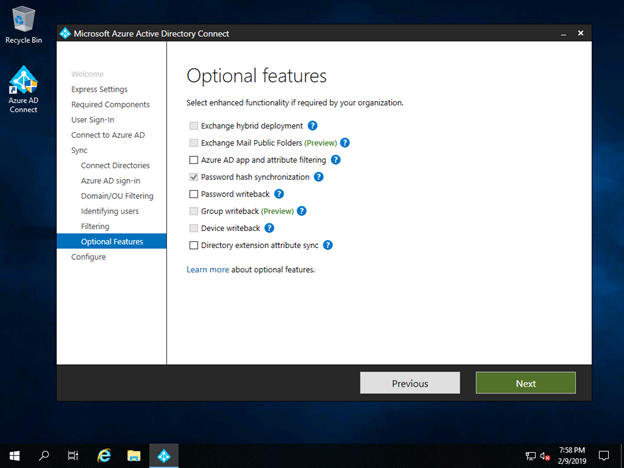
With the base options set, currently no Hybrid Wizard is configured with Exchange and we have no reason to setup any password writeback options or other settings here. Continue with the Next button.
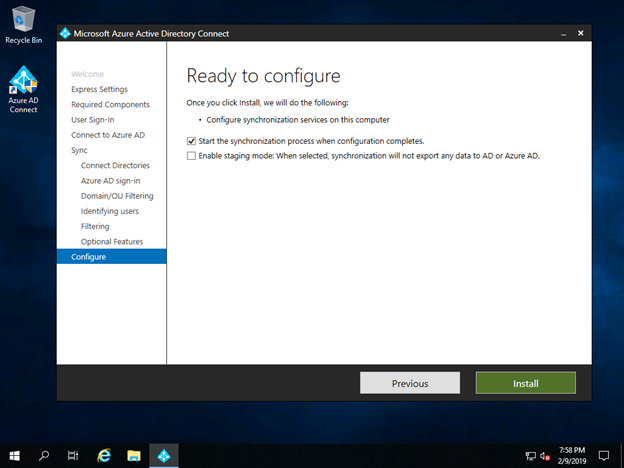
So now you are basically done. By hitting Install it will go ahead and setup the linkages to Azure AD and may spend about 5-10 minutes doing so. Once it is complete it will also start the first sync.

And this is the final screen. All done and hit Exit. In the next section we look at what it has done in Azure AD and how to monitor that the sync continues to occur every thirty minutes.