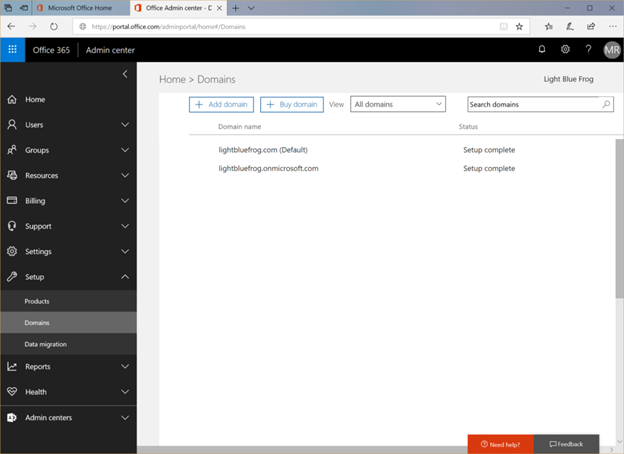
So you have a new tenant, albeit a bit empty. Let’s get into some of the configuration of it all. The first setup is to verify the domain that you want to use. We can’t be stuck with just lightbluefrog.onmicrosoft.com even though that is an important item. Let’s now configure the domain into the tenant. We are now going to add lightbluefrog.com into Office 365. Firstly then, on your navigation pane on the left click on Setup, then Domains. Your screen will look like this.
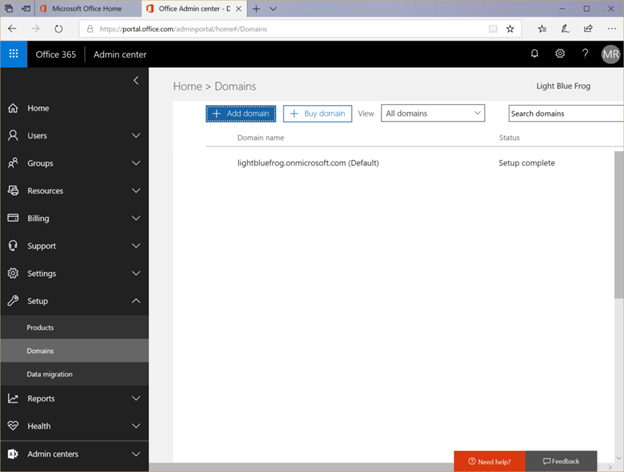
Click on the ‘Add domain’ button and lets get started.
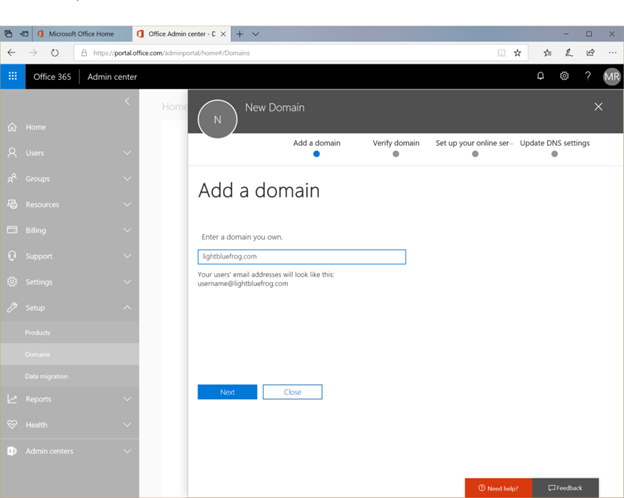
As you can see I have put lightbluefrog.com in there as that is the domain for this tutorial. Click on Next and we can start the verification process. This is just to prove that you own the domain. There are various ways to verify the domain, either by logging in to your GoDaddy account (if it was purchased by them), or placing a TXT record in DNS, maybe a piece of code in an HTML page on your website. Either way you choose it will confirm that the domain is yours.
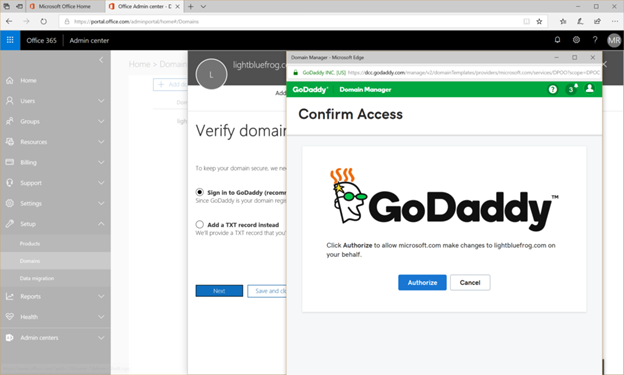
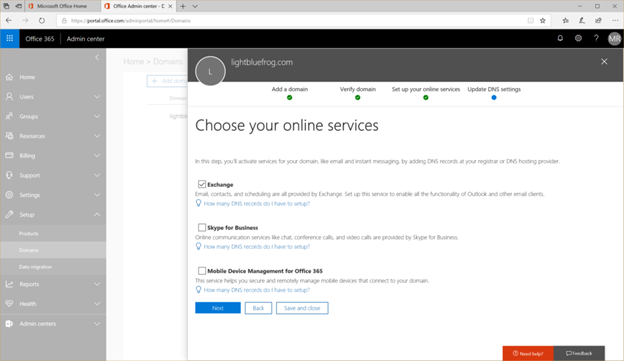
I opted for the GoDaddy option as my domain is registered there and it is quick and easy. Once the validation is complete then the following screen will show. Following this you need to setup up the DNS records. For the setup of a new domain in Office 365 where there is an on-premise server you DO NOT want Office 365 to mess with your DNS. Choose the items you want to add and do it yourself. You don’t want external mail flow going into Office 365. You don’t have any users there yet at least. So click on the ‘I’ll add the DNS records myself’ and you will be presented with what to do. You do need to select if you are using Exchange, Skype for Business and Mobile Device Management. I will tick all of those for now so you can see all the DNS entries. Even if you choose not to use them then you can still edit them later or just leave them in place.
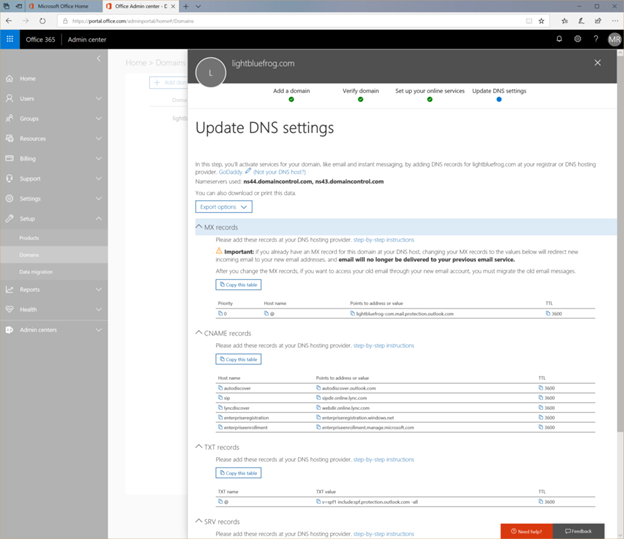
Here is what the DNS records should end up like.
In my case, like I mentioned, I was letting them go in to GoDaddy and make the changes itself. Here is the final list of what it added.
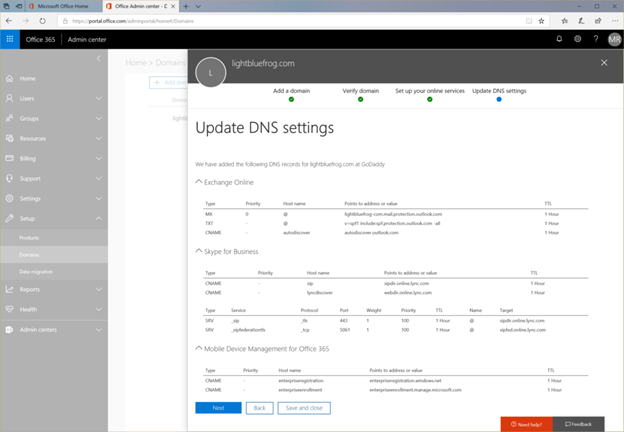
The final screen will look like this and you are all done. The next part is to link the Azure AD to your local Active Directory.