
Everybody needs to start somewhere and obviously at some point there was a need to create the Office 365 tenant from scratch. In this article I will guide you through step by step on how to perform these tasks.
- Signup for a new Office 365 tenant
- Decide on the licensing model
- Apply your domain to the new tenant
- Apply your DNS changes and decide on your mail flow.
- Create your first user (Admin)
- Get ready to link through to your On Premises Active Directory
After this you will be well placed to link your On Premise Active Directory to Azure AD, decide on the use of ADFS, MFA and other optional security services, connect your hybrid Exchange server, start migrating people to the cloud, start turning on Office 365 services and be a lot more confident in what you are doing.
STEP 1 – SIGN UP FOR A NEW OFFICE 365 TENANT.
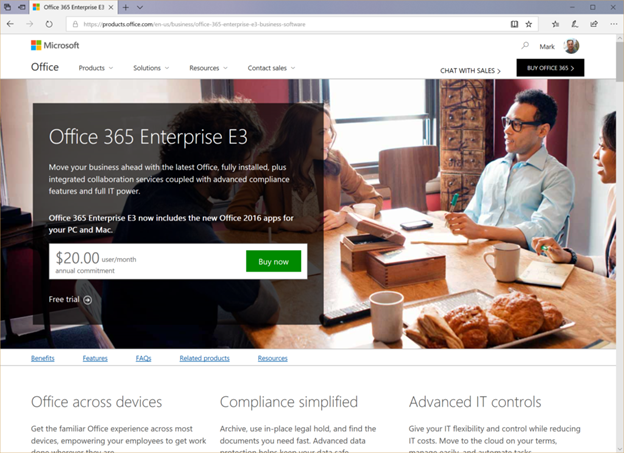
This involves starting out on the Microsoft Office 365 signup website. Now there are many portals and was to get into this, whether you choose the small business option or want to start out with the Office 365 E3 Enterprise licenses. This is down to the product licensing that can be applied, so you can add more licenses of a different type later. For now then pick one of these. Office 365 Enterprise E3 (with one month trial) – https://products.office.com/en-us/business/office-365-enterprise-e3-business-software or Office 365 Business Essentials – https://products.office.com/en-us/compare-all-microsoft-office-products?tab=2 In this example I am going to use the Office 365 Enterprise E3 version with the One Month trial as it doesn’t cost me anything to show you about it. The Business Essentials version, that should certainly have a look at will charge right out of the gate. Remember that you can switch products mid-flight as this merely pertains to the licensing model that resides in the tenant, no other functionality is different. For the first step then the E3 signup page initially looks like this.
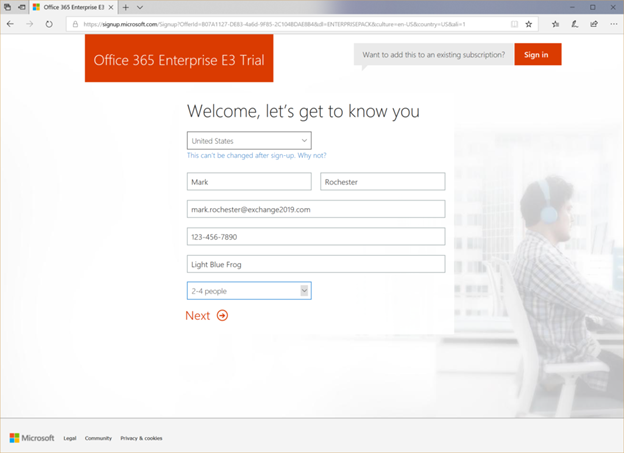
Go ahead and click on the ‘Free Trial’ link and you can start the signup process. Enter your basic information and click next.
After this you get to choose the first Admin account and the ‘onmicrosoft.com’ name for your tenant. This is important as it will become the basis for everything you do in the tenant, including things like OneDrive and Sharepoint so pick something that is meaningful. THIS CANNOT BE CHANGED LATER.
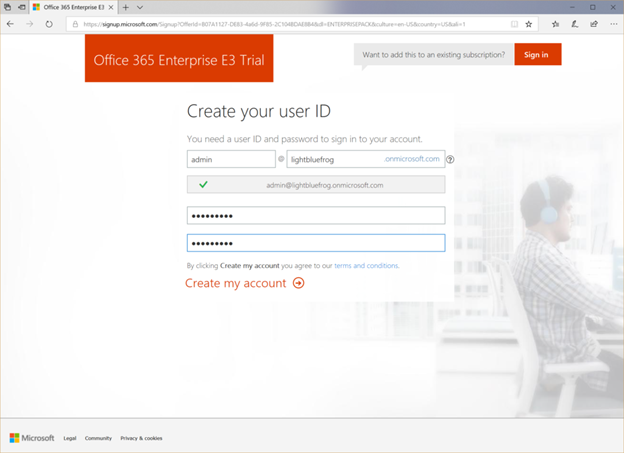
Then click ‘Create my account’ to complete the process.
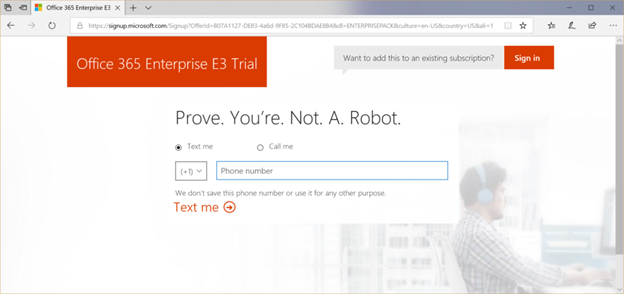
You will need a phone number to perform a verification step so go ahead and do this. Once done, it will look like this.
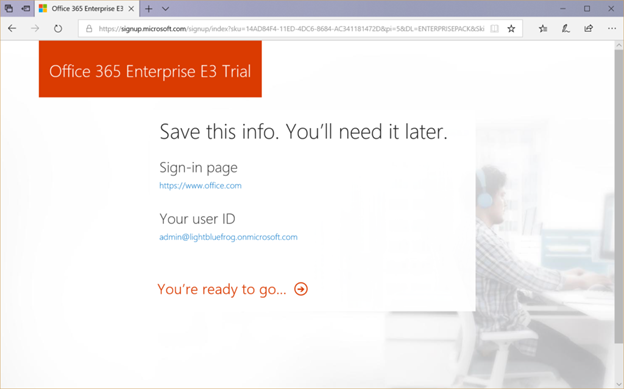
And the first step is now done. You have a live tenant ready to go. Click on the sign in page link and login with the admin user you setup earlier. Your tenant page will then look like this.
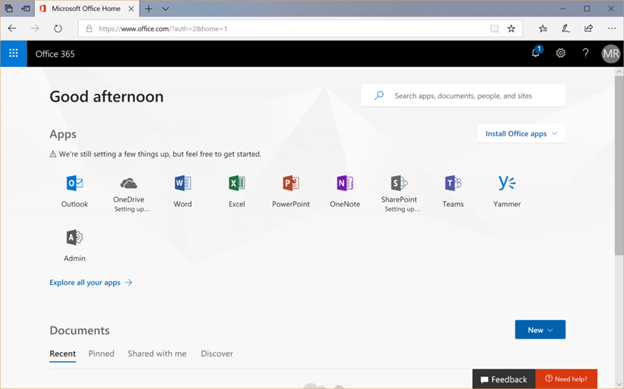
The page we are most interested in is the ‘Admin’ page. So click on that and you will see the main Office 365 Administration page.
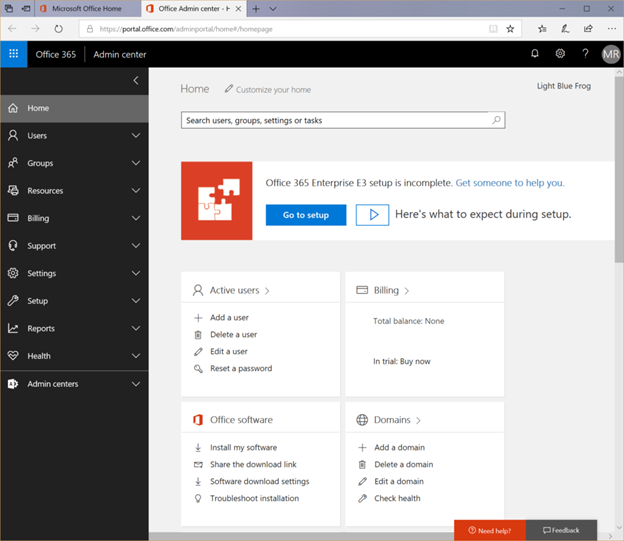
Now you are ready for part 2.